Portrait session with analog film photography: getting back to the root
Posted on Apr 16th, 2021
Shooting again with analog film camera
I have said it many times but I finally kept my word and I did it: I went back shooting with the analog camera.
In reality, the return had already begun in 2018. I had in fact decided to take analog photographs during Pitti Uomo fair in Florence. I also made a purchase that summer by buying a used Fujifilm GA645i. I must say that in recent years I have used it very little or nothing, in fact, I was also on the verge of reselling it …


I suggest you to give a look at the “Portraits” category: you can find other inspirational photosession shot in Italy and aboard with useful backstages, tips and suggestions!
The problem of analog photography in the past
With this new period of “rest” at the beginning of 2021, and as I wrote in one of my previous posts where I was doing a bit of the sum of what I have done in the last few months, I went back to studying the analog process.
Yes, because for my part, if I went back to shooting with film, I wanted to be totally in control of the entire process.
One of the advantages of the digital process, when I started using the dSLR in 2005, was precisely the fact that I could manage the photographic process entirely by myself. In fact, when I started with analog, I unfortunately always had surprises when I found myself picking up the photographs: the colors were not as I wanted them or I found unwanted dominants in the photographs. Some labs unluckily don’t take care enough of their process chemistry, some of them may be too old and gave not perfect results. Many times I had also problems with scratched negatives.


Analog photography from the new generations
In recent years, the scenario of analog photography has changed a lot. There has been a progressive rediscovery of this shooting experience. Much due also from the new generations of very young photographers, the digital natives, who are becoming passionate about these vintage-flavored instruments (such as the return of the vinyl record and the cassette).
For my part, having however started with analog photography in the early 2000s, mine was the desire to shoot with a process that still has a unique charm and also an aesthetic result that is difficult to match with filters and presets when shooting digitally. ..
As I said above, I wanted to be totally in control of the process, so I studied how to do color film development at home as well. I had heard in the past that it was a prohibitive process for those who did not own specific and expensive equipment, so I never really went into it.


Analog film photography: what has changed today
But then, thanks to a series of videos on YouTube, I saw that some color development kits (for the C-41 process) have arrived on the market, which allows you to develop at home without great difficulty.
One of the important aspects of the development of color film is temperature control. The first stage of film development must in fact be exactly + 38c. You can deviate about +/- 0.3C, so you have to be very precise.
In this regard, I therefore purchased an accessory for controlling the temperature of the bathrooms produced by CineStill.
I must say that, despite some small errors caused by the inexperience of the first developments, I then obtained very satisfactory results.


About this portrait session with the analog camera
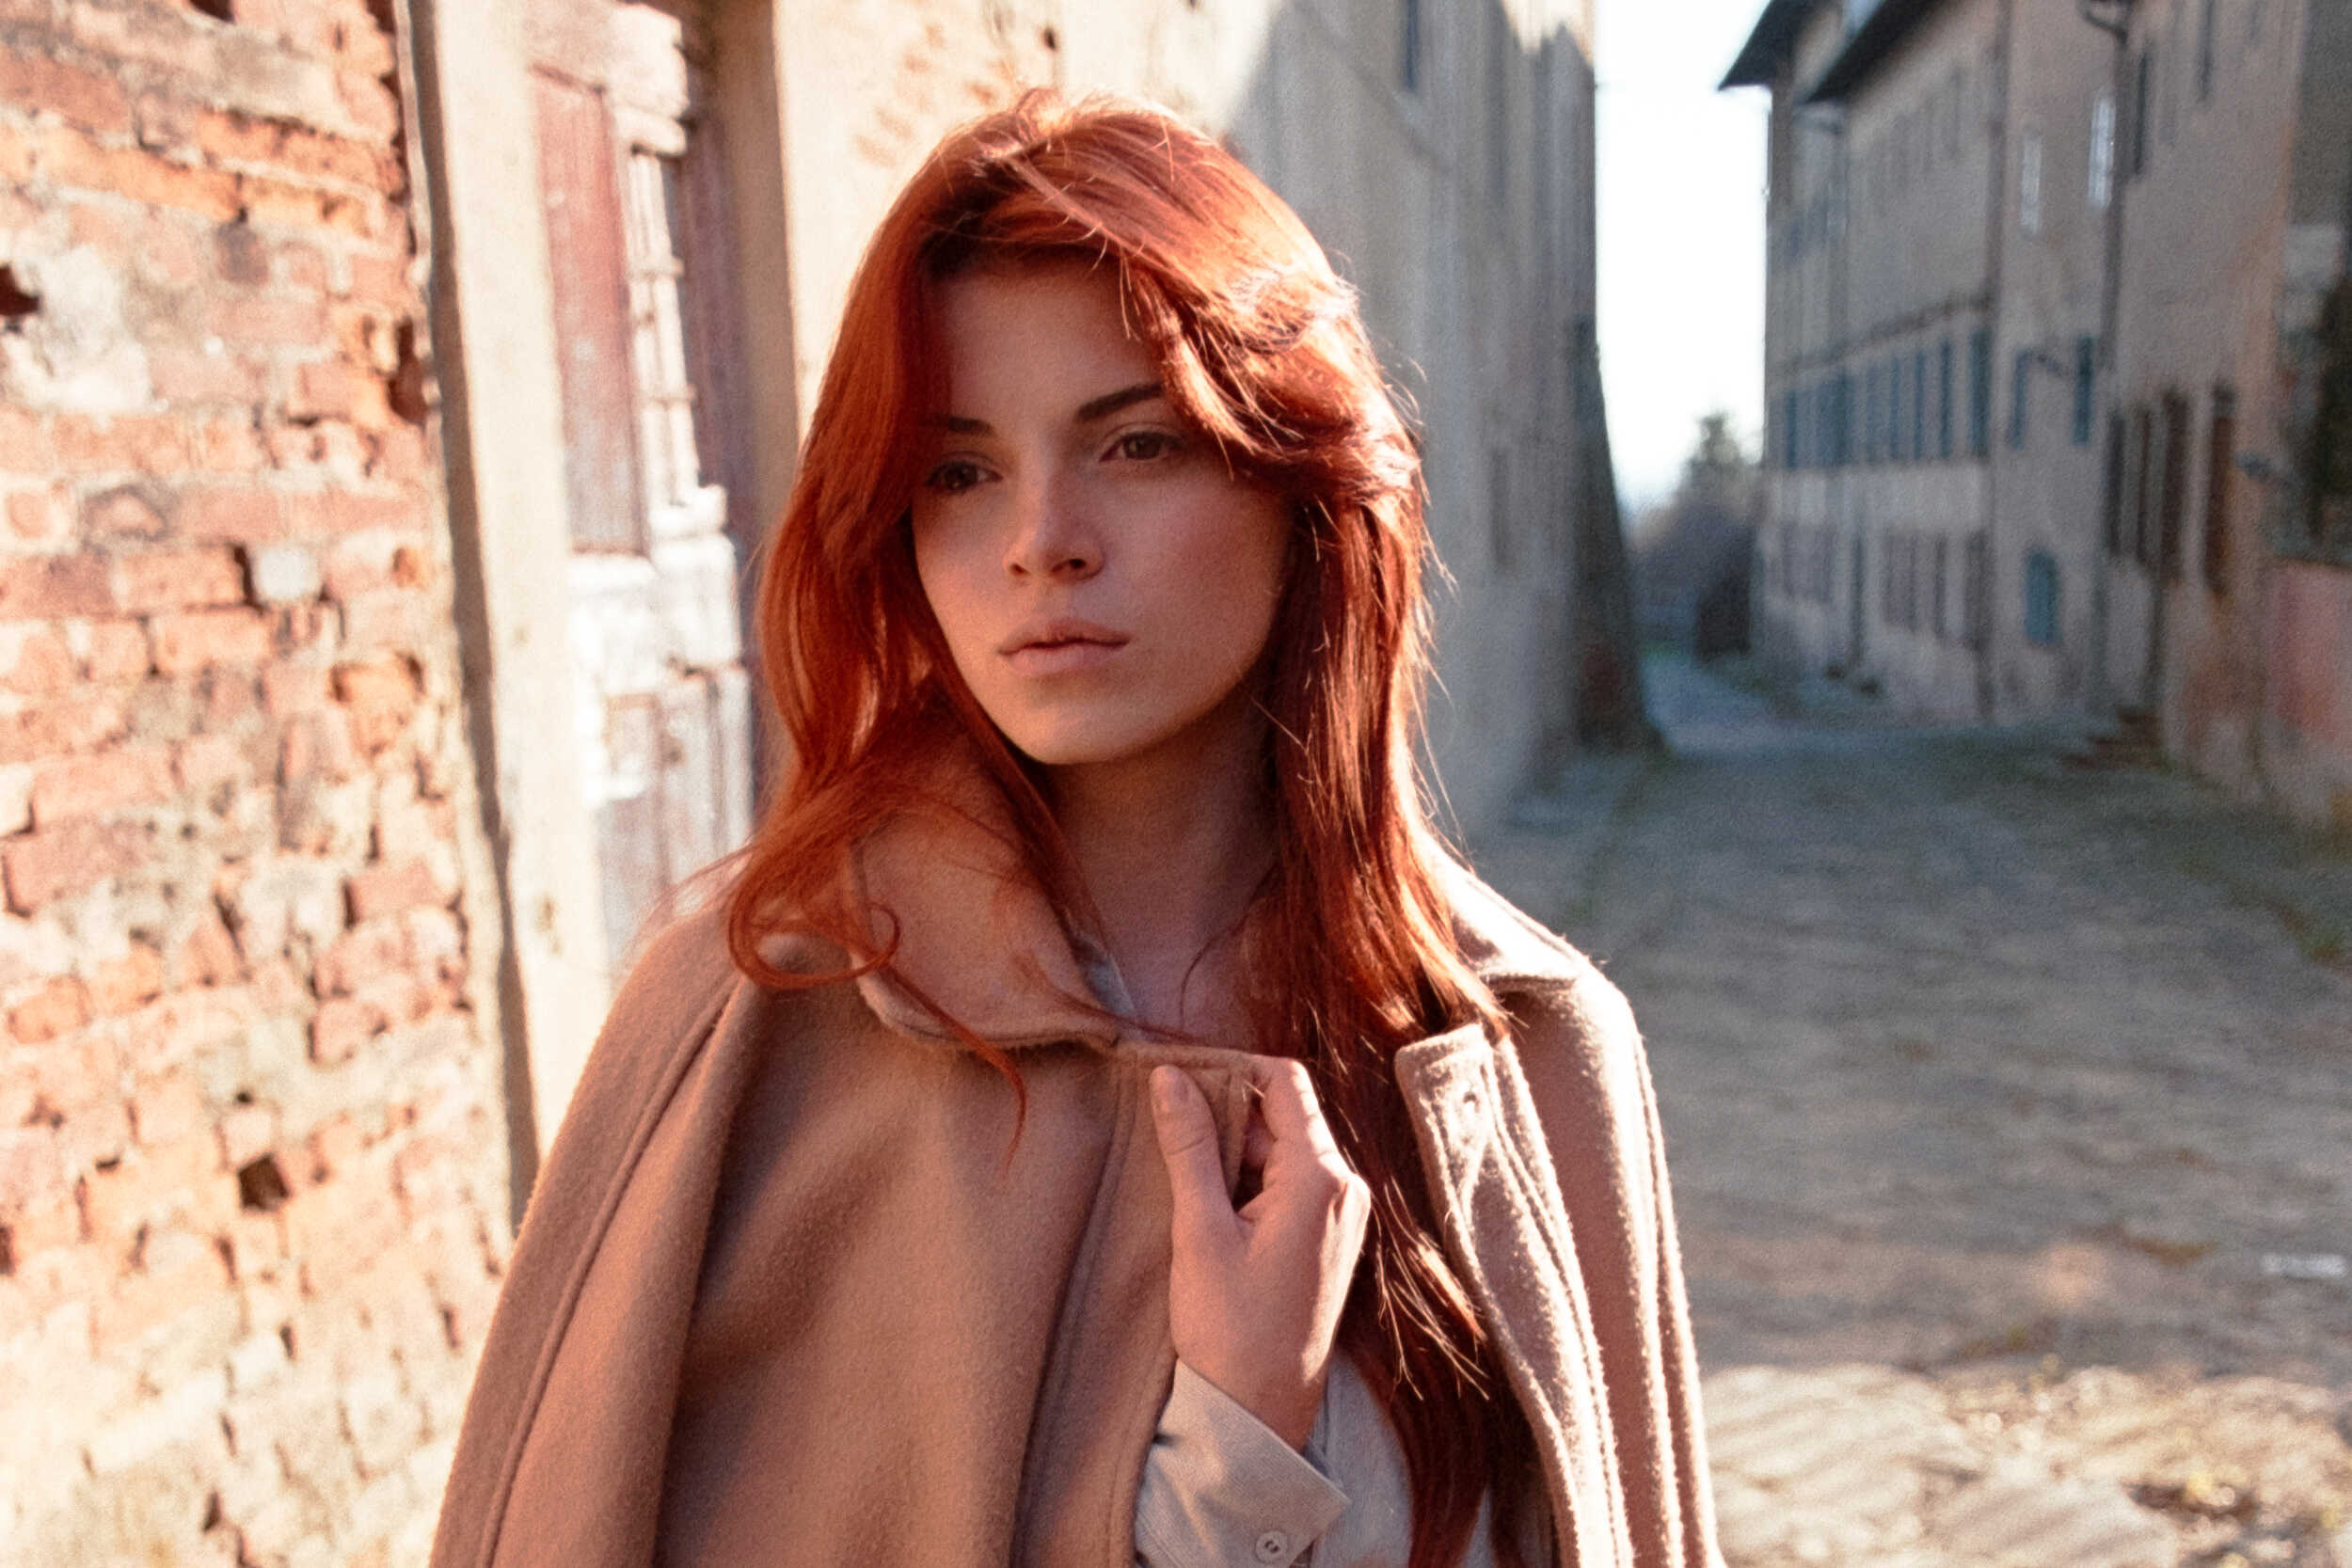
This photographic portrait session with model Rita was shot using a Pentax Mx analog camera with the 28mm f/3.5 and 50mm f/1.7 lenses. This is an excellent analog camera in 35mm format (what we now call “full frame”) that can also be found at great prices on eBay. Personally I am lucky that my father, a lifelong amateur photographer, being passionate about the Pentax brand, owns several models. I have therefore “borrowed” from him some of these cameras that I am using for these photo sessions.
As anlog films, I have used for this session the Kodak Portra 160 and the AgfaColor Vista 200.
In an upcoming blog post, I’ll tell you about the scanning process I used to convert the photographs taken with the analog camera into a digital file.


What I like about analog film shooting process
What I like about the shooting process with the analog camera is the waiting time and the unpredictability.
In fact, in order to have and see the photographs you have to wait for some time. Furthermore, since a good film like Kodak Portra costs (and unfortunately also a lot in this period!), in addition to the cost of the film development, before shooting you think carefully about the photos, the composition, and all these aspects. Let’s say that we tend to think more.
I’m not saying that a bad photo taken with a digital camera automatically becomes beautiful if taken in analog! The analog gives the advantage of the reflection time during the shot.
The colors are also truly unique! Some films such as the Kodak Porta have in fact unique tones, as I said before, which are difficult to replicate with presets in Lightroom or Capture One. And then it can happen, as happened to me in this session, that an unintentional double exposure occurs inadvertently!😅


Subscribe to the Newsletter!
Subscribe to the Newsletter to receive all the updates about the latest article published about smartphone and camera photography + tutorials and video about photography and post processing with Lightroom, Photoshop, Capture One and Affinity Photo!
Let’s keep in touch!
Instagram | Twitter | YouTube | Subscribe to the Newsletter
No Comments