
In the streets of Florence. A second look at Capture One Pro 11
Posted on Sep 27th, 2018
After the first look at Capture One Pro 11 for Fujifilm that I’ve written about it here, I went on with a second editing.
With this session, the editing was a bit more tricky: I shot these photos just some weeks ago in the full Italian summer, in the streets of Florence. I was looking for hard contrast and the draws of the light on some inner streets of Florence.

As said in the previous article, there’s some point of strengths of Capture One Pro over Lightroom in the editing of the raw file: I think the algorithm of Highlight / Shadow recover is doing a better job giving back a more natural and balanced image. When I’m using too much highlight and shadow recovery in Lightroom I get that sort of HDR look that doesn’t look so much appeal (at least for me).


There’s another thing that I really appreciate in Capture One and is the layer workflow: I am able to use almost my usual way of editing the photos I did in the past years in Photoshop, using layers with masks that then I feather with blur to act on the specific area of the photo.
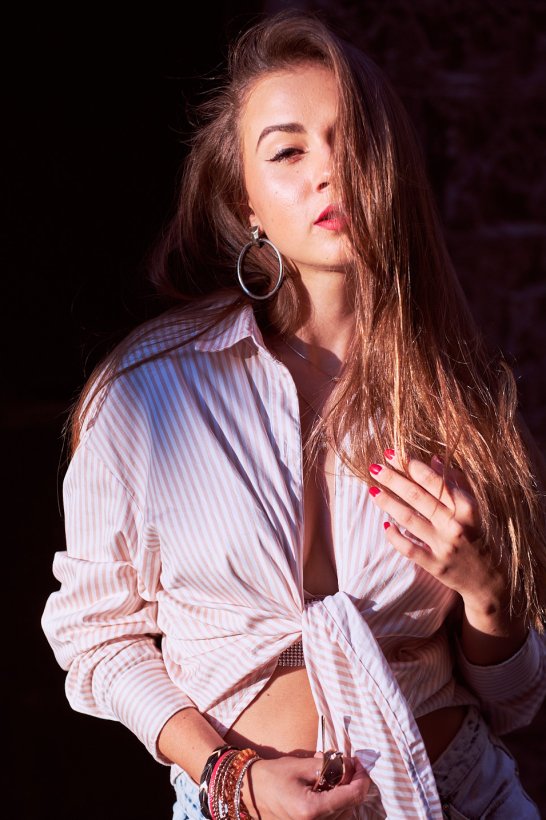
Capture One Pro 11 Fujifilm workflow breakdown
As you can see from the above Gif, I did a small breakdown of the editing I did to come to the final result of the cover photo of this post.
- On the main first l
ayer I did the general regulation of White Balance, Histogram balance and Highlight / Shadow Recover - On the second l
ayer I applied two curves: one on the RGB to add a bit of contrast (and saturation) and the second curve only on Luma to add a bit of extra boost in the shadow - The third layer I used for the toning of the image. I used a warm toning with some blue cast on the shadow.
- On the fourth layer, I’ve added a bit of light of the model face: I’ve used a smooth brush and further gave a feather to the mask to not give any hard separation where the regulation is applied.
- The last passage shows another very useful feature of Capture One Pro 11 that allows you to proof the final image for the final Output resolution with the Output Unsharp Mask.
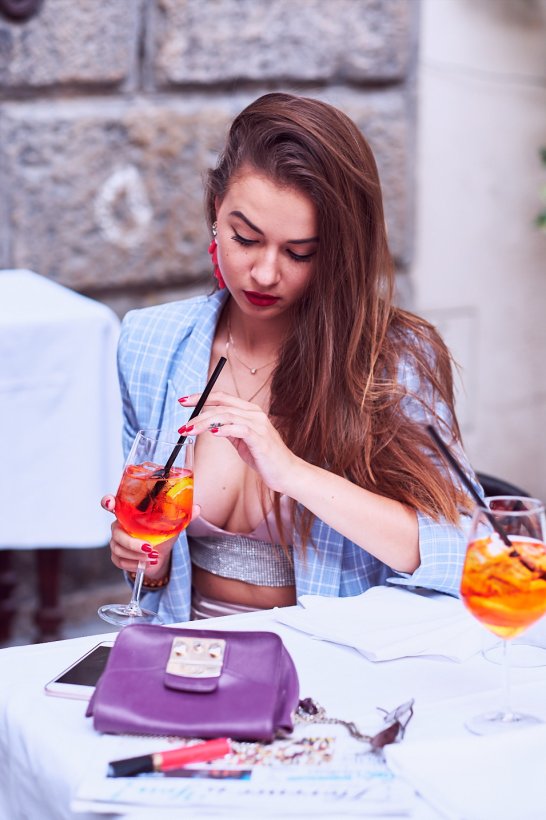
I had another image that was a bit tricky to edit and was the following:

The original image, shot in backlight (yes, I’m a big fan of backlight photography!:) ) present a purple halo that is
My complain here of Capture One Pro 11 is that the repair layer (I’ve used to remove the streets sign on the background) can sample only one point for layer. In this way you’ve to build different layer to repair correctly the image.


So I’m getting little by

Photos shots with Fujifilm X-Pro2 + 35mm and Fujifilm X-T2 + 56mm f/1.2
Edited with Capture One Pro 11 Fujifilm
Latest Post
Let’s keep in touch!
Instagram | Twitter | YouTube | Subscribe to the Newsletter
Tim Green
Posted at 08:45h, 20 NovemberI’m beginning to get annoyed at Phase One about the missing Fuji profiles, If it was just a general purpose solution I would be understandable, but this is a release specifically for Fuji cameras and Fuji sensors. For the time being I have returned to Lightroom, even though I purchased the full version of Capture One Fuji edition. The Fuji film simulations are simply the best starting-point for my edits, nothing else comes even close, and not having them wastes too much time.
Alessandro Michelazzi
Posted at 10:34h, 20 NovemberCiao Tim, I agree with you. I was also very enthusiast to try and then buy the Capture One for Fujifilm since it was written from the press announce that it supports the Fujifilm color profiles. I was also expecting a quite fast update from Phase One, but still at today (20th Nov 2018) after two months from the release, we have no news about the Fujifilm color profile in Capture One Pro…
Glenn MICHEL
Posted at 20:34h, 19 NovemberHello,
So are Astia, Velvia, etc. simulation integrate in C1 pro now?
Thanks for your nice blog and for helping.
Glenn
Alessandro Michelazzi
Posted at 23:45h, 19 NovemberCiao Glenn, unluckily at today (19 Nov 2018) we’re still waiting for this update to bring the film simulation to Capture One Pro. Hope to have soon some more news to share!